I’ve shared this cutting board revival hack on my Instagram, but I felt like a hack this good deserved a place to live on the blog. That way you can keep coming back to it again and again!
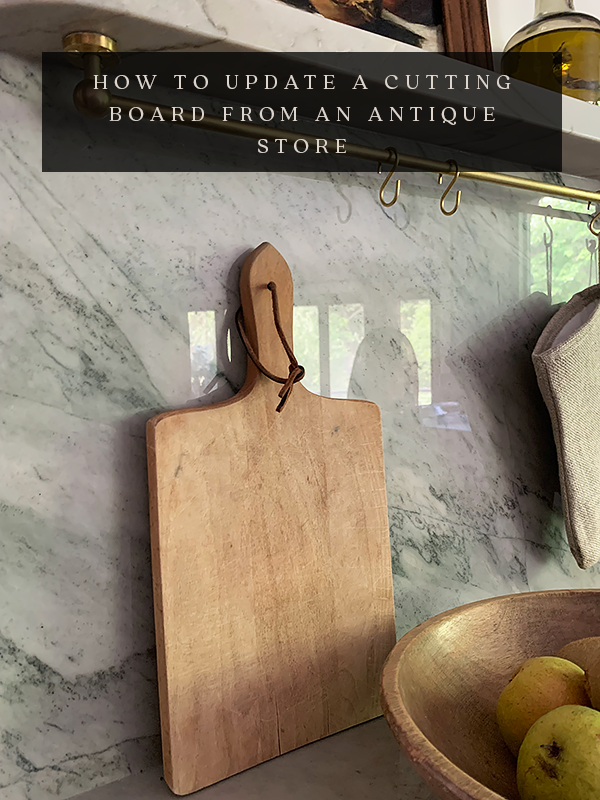
How to Update an Old Cutting Board
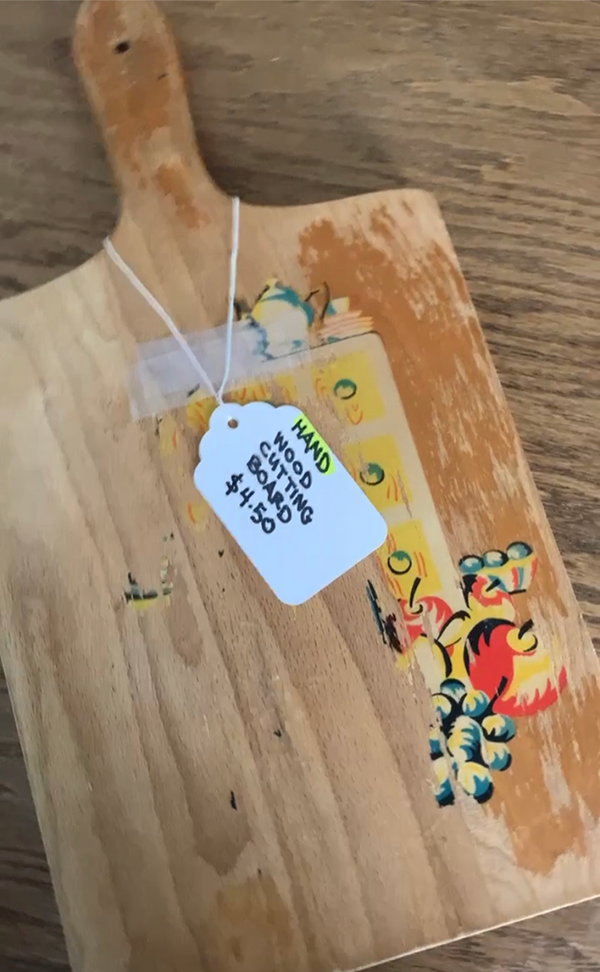
Every time I go to an antique or a thrift store I feel like I see so many used wood cutting boards. And while they make such great decor pieces, I really wanted to find a way to bring them back to life and make them useful. I got mine for $4.50 from the antique store, which is a steal compared to buying a new one.
But, the only “issue” with finding things previously used is that you never know where they’ve been. Oh the stories, I’m sure they could tell! I’ve said this before, but if I owned an antique store, I’d want people to leave notes with their items so I know where they’ve been. I think that’d be so fun!
I followed these steps to bring a previously owned cutting board back to life, but they could also just be used to revive a wood cutting board that you currently own.
PROCESS OF UPDATING AN OLD CUTTING BOARD
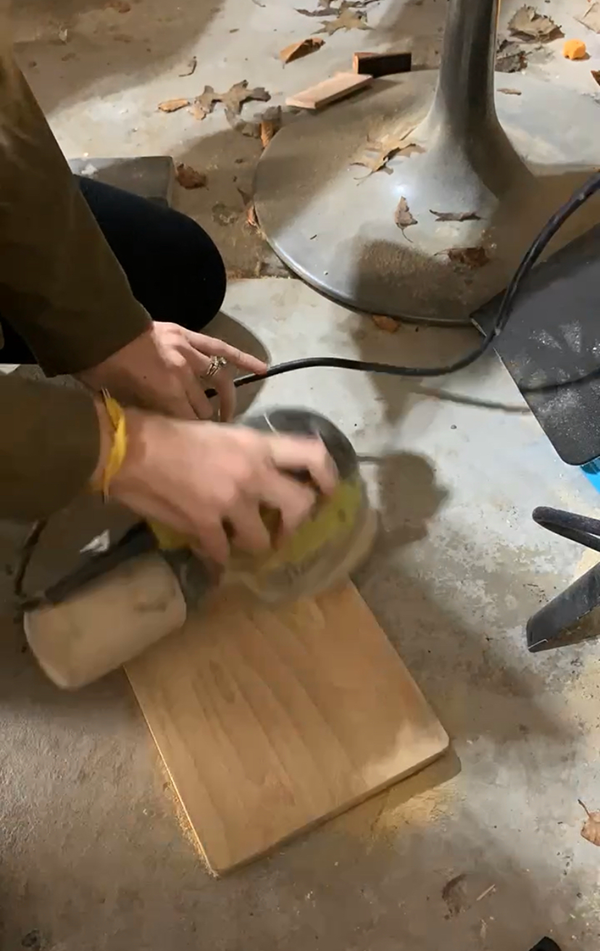
STEP 1
Sand down the whole thing front and back. You want to buff off any stains, as well as the original finish so that it all matches. Sanding an old finish off of wood is one of my favorite things to do. I never get tired of revealing that beautiful raw wood underneath. The cutting board I used had artwork on one side, so the sanding got rid of that and made it plain on both sides.
STEP 2
After it’s all sanded, I used a damp paper towel to get all of the dust off.
STEP 3
I used Odie’s Oil for this project. I’ve used it before for other projects and liked it and after more research, I found out it’s food safe! Which was, of course, perfect for this cutting board.
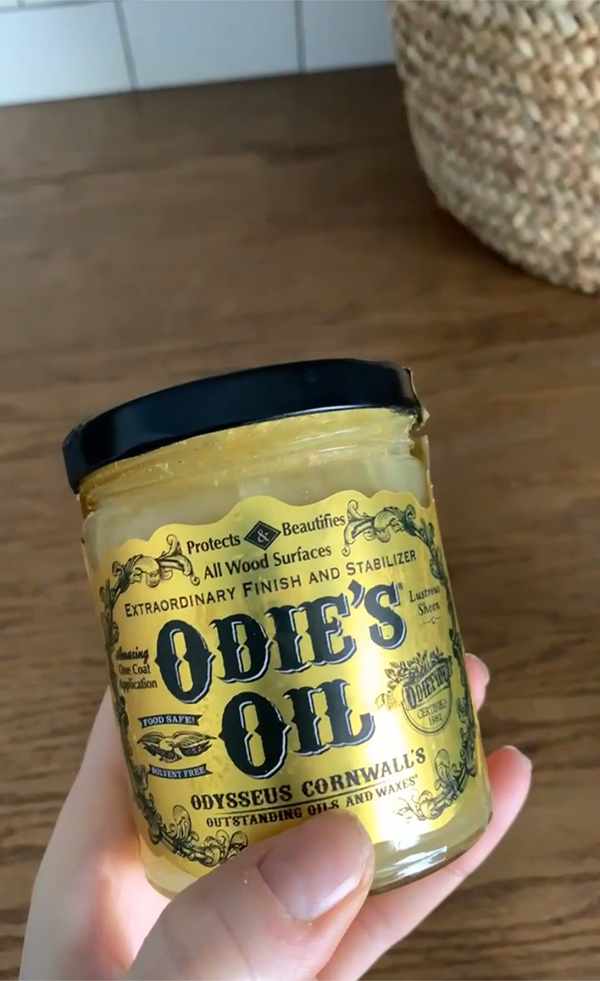
With Odie’s, a little goes a long way and you only need one coat. It’s non toxic and uses oils and waxes produced by nature. The way it works is the wood surface and pores become completely saturated with the oils and waxes. That way there is no room for water to seep in or for other liquids to cause stains or bacteria growth. I also love the finished look it gives!

Once that’s done, wait about 40 minutes. After that you buff it out to a nice smooth and soft finish. Then after 3 days you can start using it!
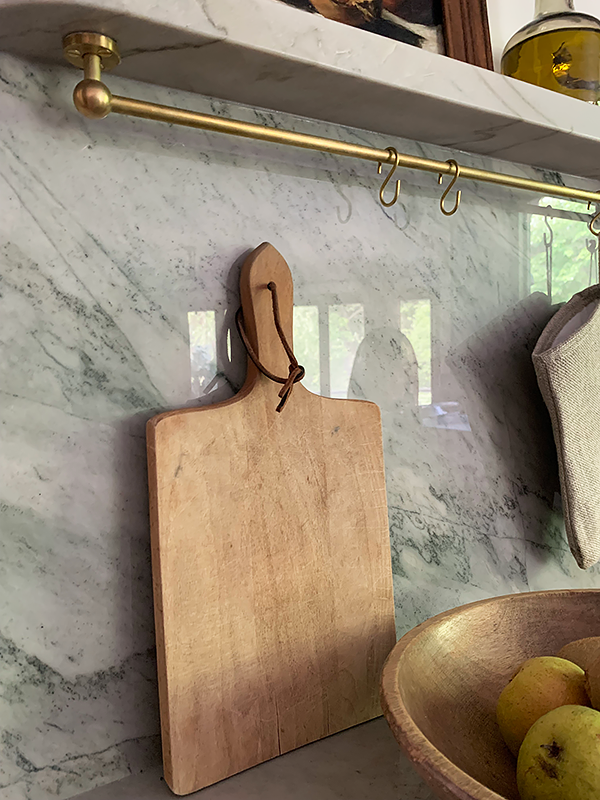
And that’s it! What a simple way to breathe new life into something that you thought had seen better days! Let me know if you have any hacks for reviving older objects that you want to share!