This post is sponsored by Floor & Decor. All opinions are 100% my own.
Ahh I know this has been a long time coming but we FINALLY got our hardwood tile from Floor & Decor installed in the bedroom and I’m so in love with it. I wanted to share with you guys a bit about the process and give you a peek at how it’s looking before I share the grand reveal!

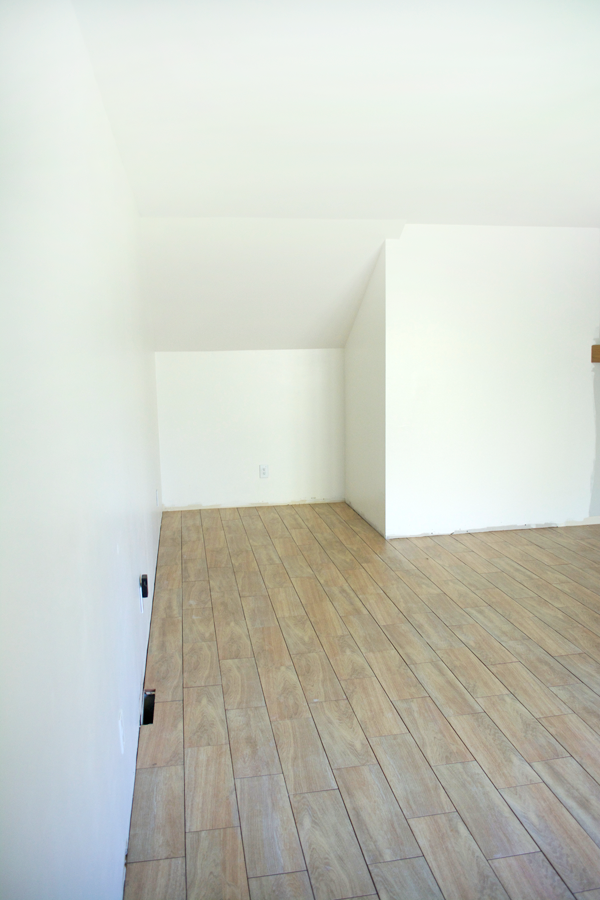
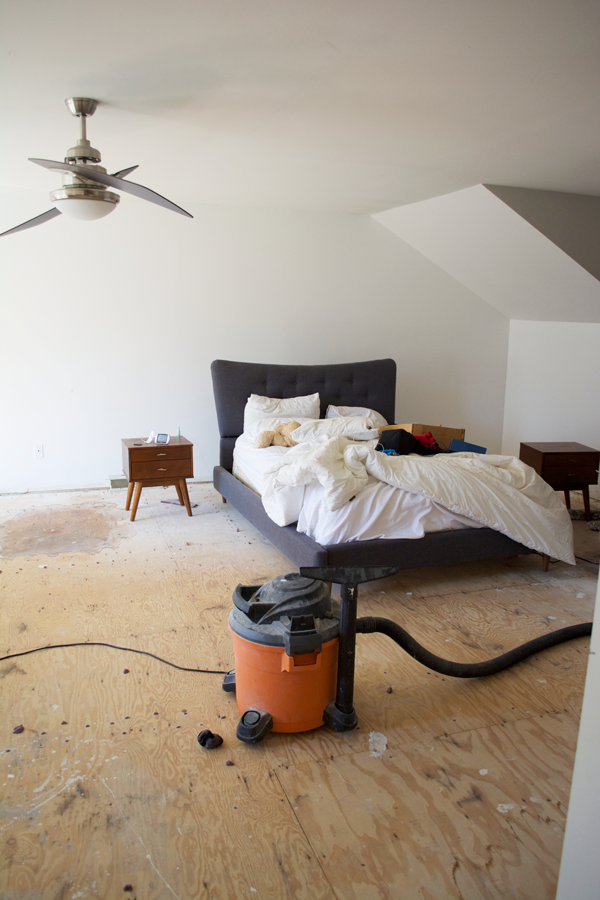
To give you a little refresher, this is what our bedroom looked like shortly after we moved in.
You can’t tell from this photo but the carpet was SO BAD. It’s original to the house and had stains all over it. First you’ll want to remove all the baseboards and trim. Then the next step is ripping out all the carpet.
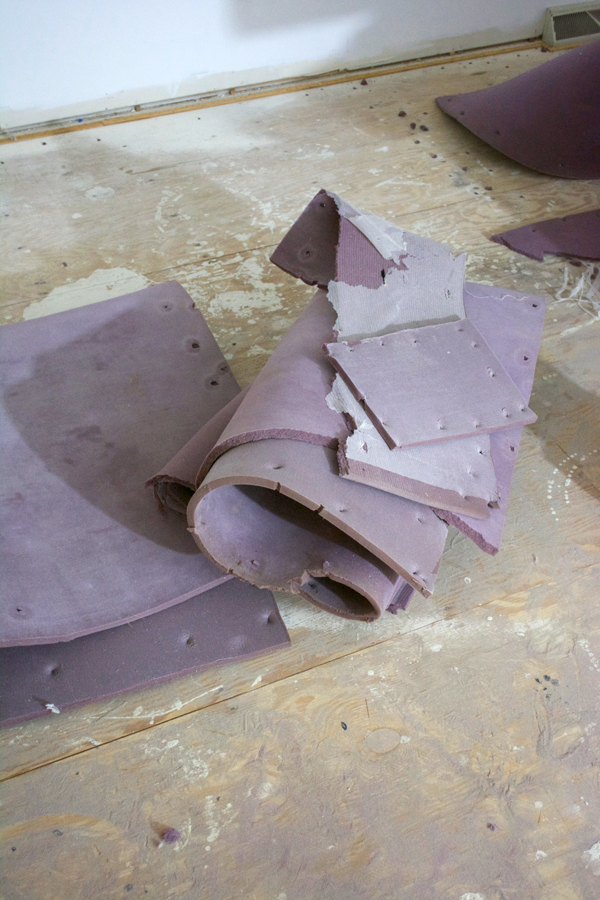
It helps if you do it in sections and have a really good, sharp knife to use. We cut them into about 3 foot wide sections and then rolled them up and wrapped them in duct tape to make it easier to carry downstairs. We did this separately for the carpet and the padding.
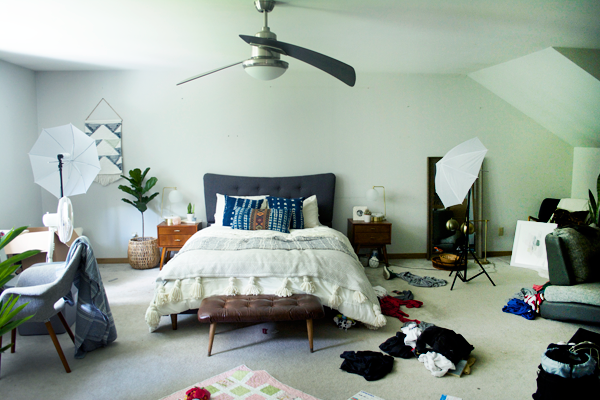
We kept the bigger furniture pieces in here and just moved them around as needed since we weren’t planning on laying the tile right away.
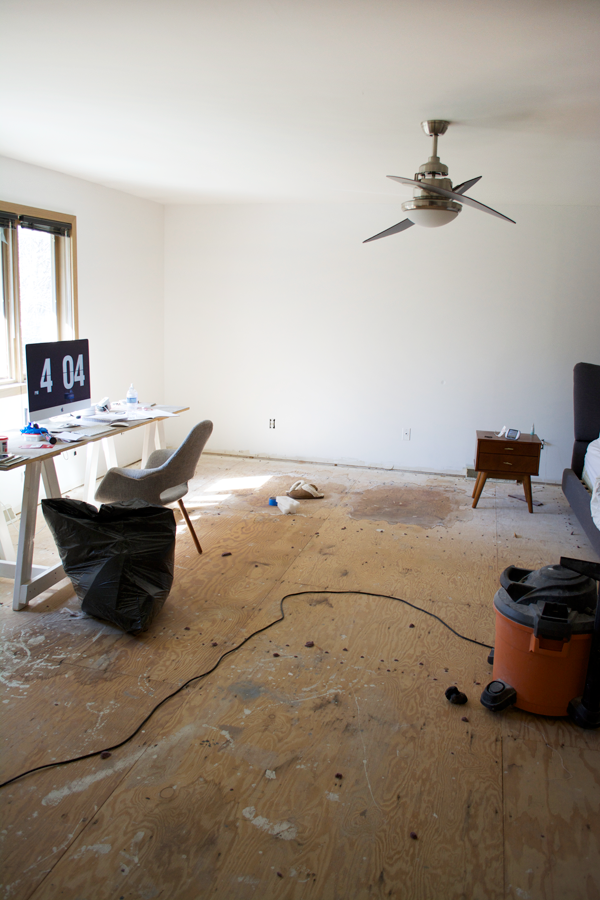
Once that was all up it was time to remove all the staples. And holy crap were there a lot of them.
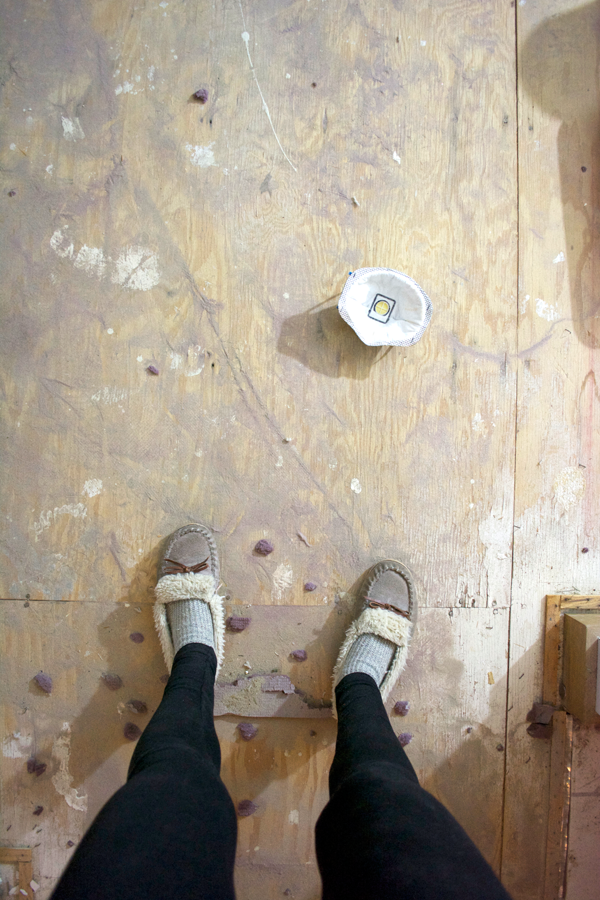
I actually found it somewhat therapeutic and relaxing and it wasn’t nearly as bad as I thought it was going to be. If you’ve got a good nail extractor you’ll be good to go. And it’s not completely necessary to remove them all. If there are nails that are still in there pretty good, you can just hammer them in to make sure they’re as flat as possible.
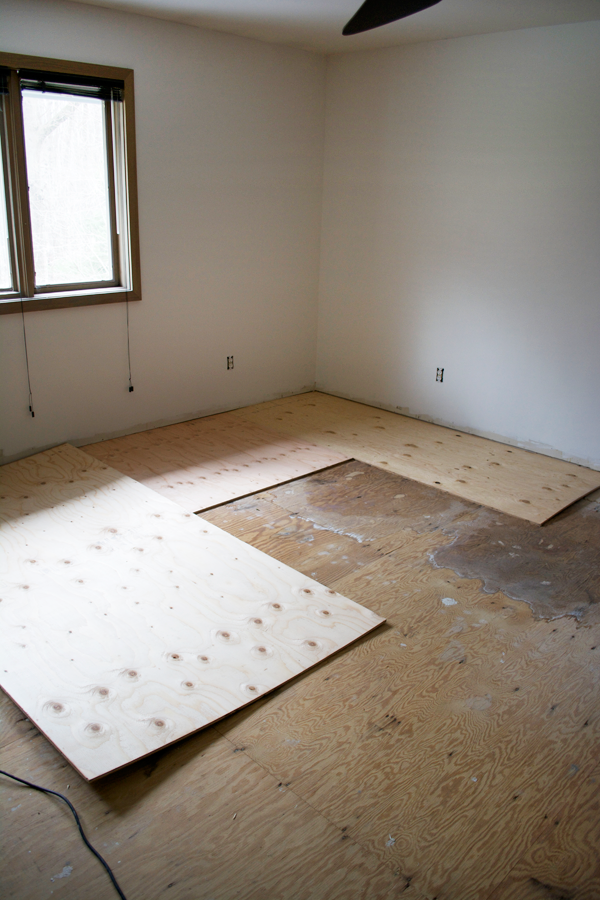
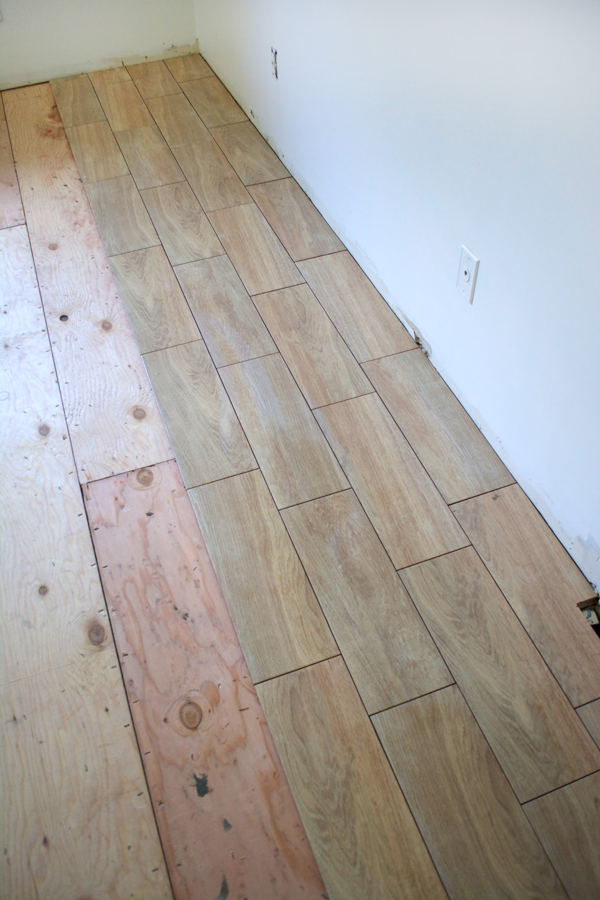
Once all your nails and debris are out, give the floor a good clean with the vacuum before you start on the subfloor. We used 1/2″ plywood and our compressor to staple the new sheets in.
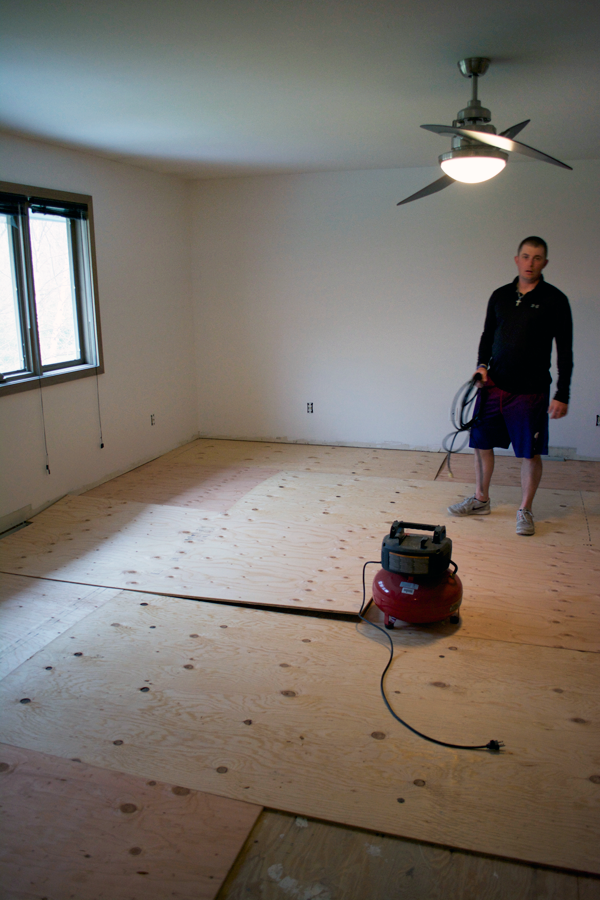
Once you have that in, you’re ready to tile! I’m not going to try and pretend to make this into a tutorial on how to tile – because my FIL does it for a living and laid it all for us. He’s the pro and it goes SO much faster if we just let him do it.
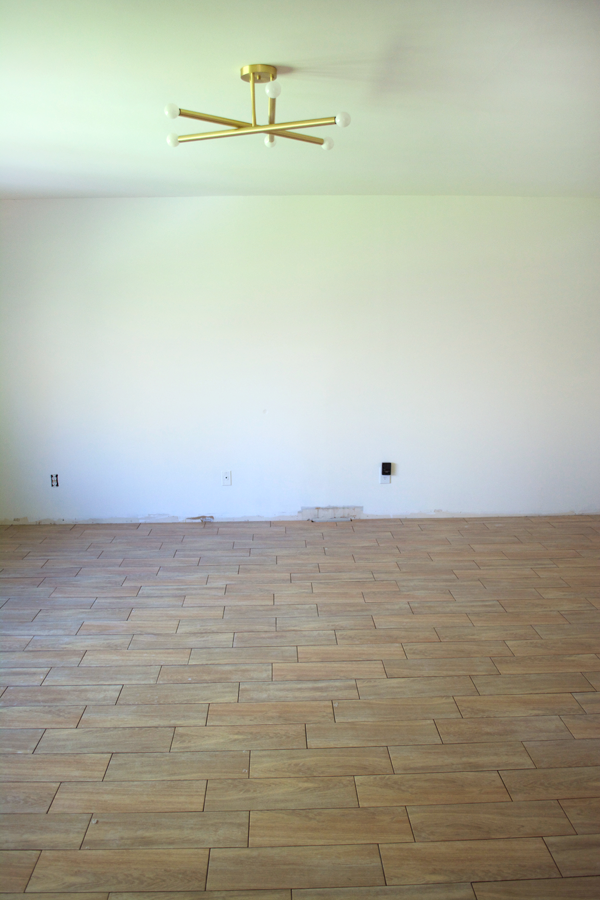
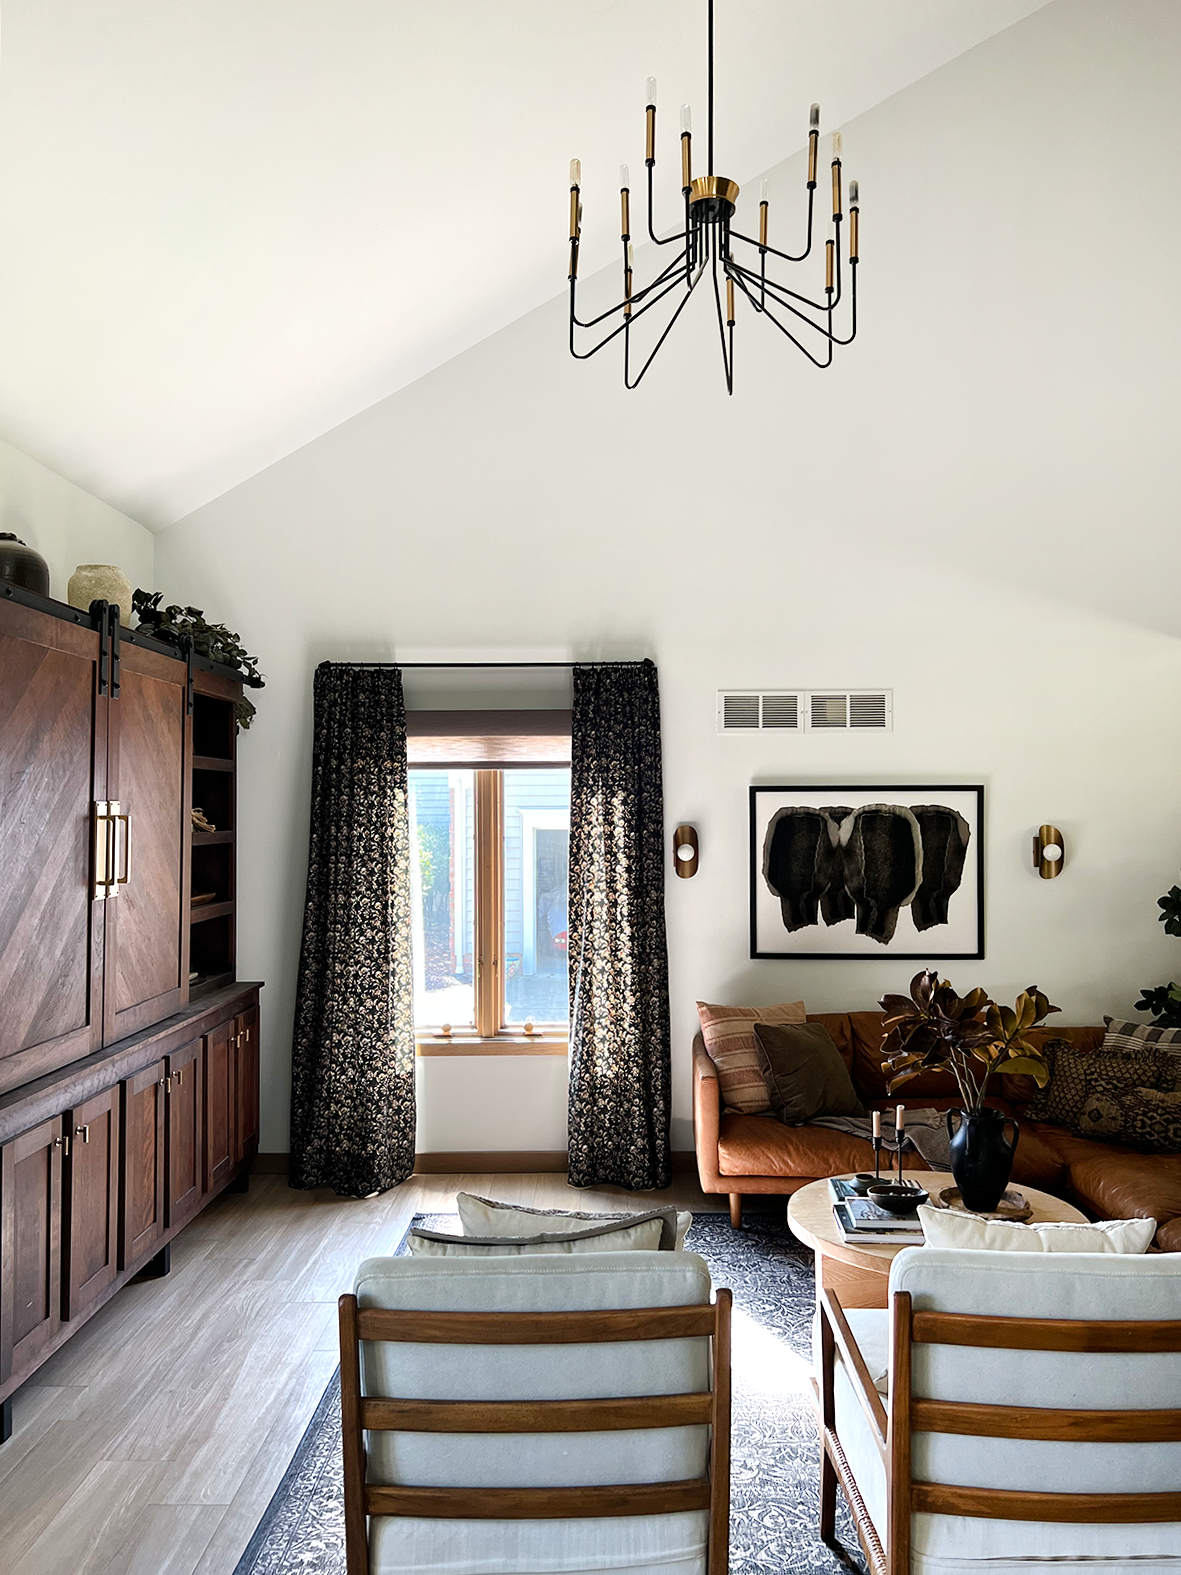
The whole room took him about 5 hours. And we got a pretty new chandy from Lucent Light Shop 🙂

We used the Brighton Natural Wood Plank Ceramic Tile which I’m so obsessed with. The color is so perfect. I was a little worried about how the shorter planks would look; especially in a large room, but I think they’re perfect and will look even better once the grout is in.
If you missed my first post about how we selected this tile and our trip to Floor & Decor you can check it out HERE.
This is a shot of how it looked once it was all in and still without the grout.
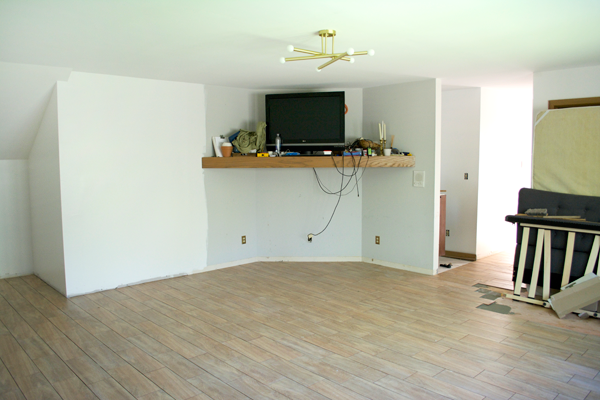
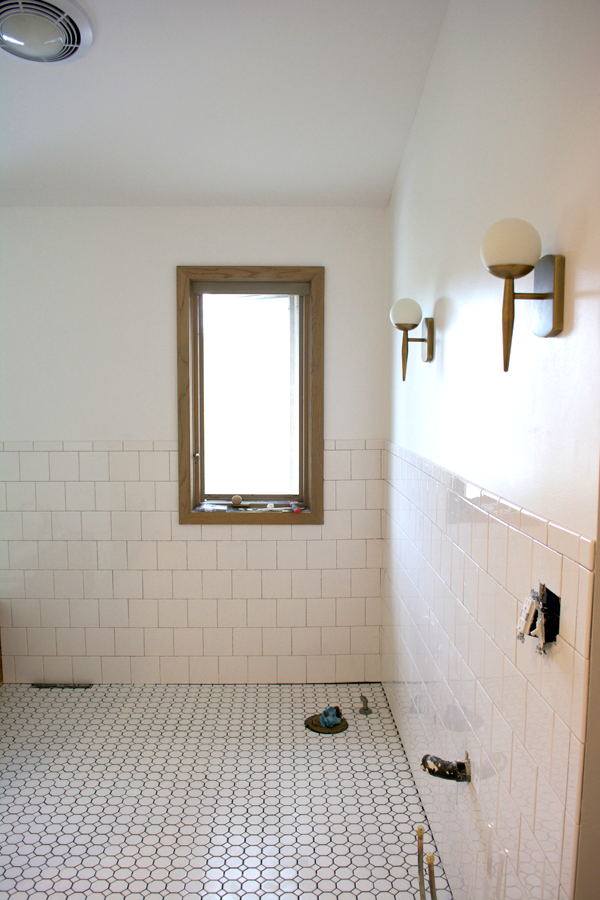
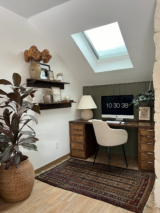
I’m so excited to finally be able to put our room back together. Between this and the bathroom reno things have been an absolute disaster! That new little nook you see above is where I’m going to be putting my new desk that I just picked up from Craigslist. It’s the cutest and I can’t wait to show you guys!
I’ll be sharing a much prettier reveal of our new bedroom floors soon!
Thank you to Floor & Decor for providing the product for this post and making this project possible!


Marlene @ Idle Hands Awake
Aaaaahhhhhh this is gonna look so good! I think the shorter planks will definitely go with your decor. Also that chandelier is stunning! Your style is always so so beautiful, Bre!
Kristi
LOVE the light colour! Can’t wait to see how they look in the finished space!